Butterfinger Chocolate Truffles
Introduction
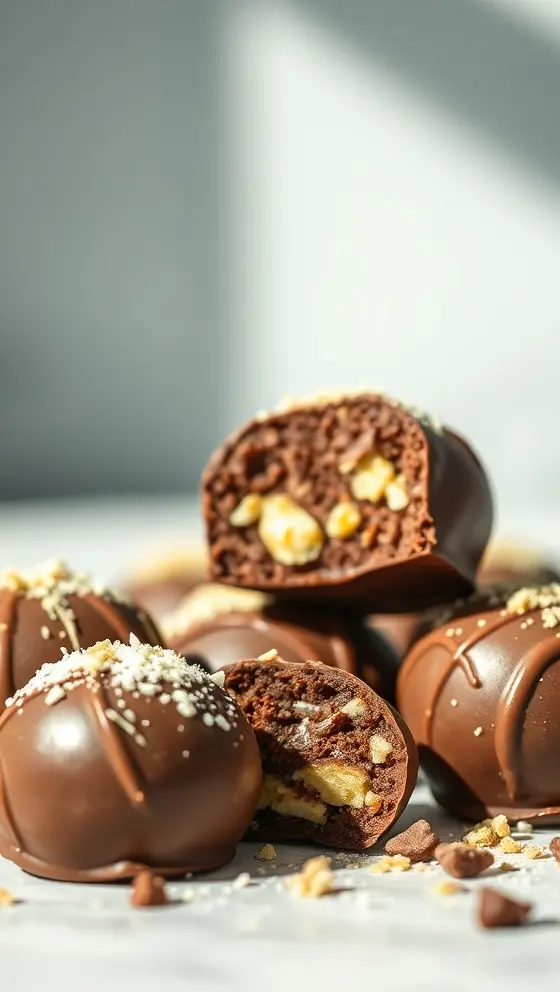
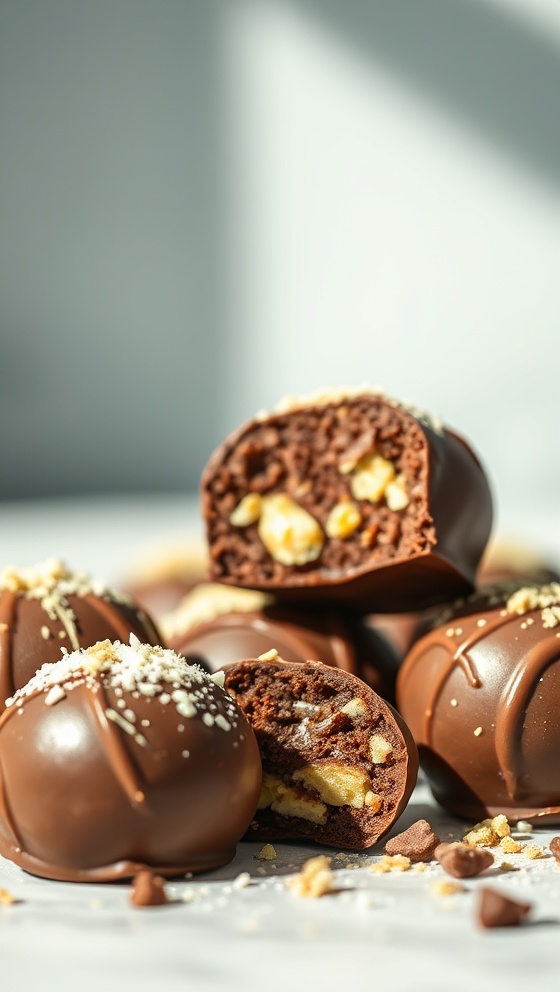
Imagine a delightful sphere of chocolate that melts in your mouth, revealing a rich, indulgent filling that transports you straight to dessert heaven. Butterfinger Chocolate Truffles embody this magical experience, combining the crunchy texture of Butterfinger candy with a smooth chocolate shell. These truffles make for an impressive treat at parties or a sweet gift for loved ones, showcasing your culinary flair without requiring hours in the kitchen. Today, you’ll learn how to make these delicious Butterfinger Chocolate Truffles, elevating your dessert game and wowing your guests with every bite.
Ingredients List
To whip up these irresistible Butterfinger Chocolate Truffles, you will need the following ingredients:
– 1 cup crushed Butterfinger candies
– 8 ounces cream cheese, softened
– 2 cups semi-sweet chocolate chips
– 1 teaspoon vanilla extract
– A pinch of salt
– Additional crushed Butterfinger for rolling (approximately ½ cup)
– Optional: sprinkles or cocoa powder for decoration
Timing
Before diving into the fun of preparing these truffles, it’s important to have an understanding of the time commitment involved. Here’s a breakdown for your convenience:
– Preparation Time: 20 minutes
– Chilling Time: 30 minutes
– Rolling and Coating Time: 15-20 minutes
– Total Time: Approximately 1 hour
This means that within an hour, you can create a delectable batch of Butterfinger Chocolate Truffles, ready to impress!
Step-by-Step Instructions
Creating Butterfinger Chocolate Truffles is a straightforward process, perfect for both novice and seasoned bakers. Follow these easy steps:
1. Prepare Your Work Surface: Start by lining a baking sheet with parchment paper; this is where you will place your truffles to chill.
2. Mix the Base: In a large bowl, combine the softened cream cheese, crushed Butterfinger candies, vanilla extract, and a pinch of salt. Use a spatula or your hands to mix until well combined. The mixture should be smooth and cohesive.
3. Chill the Mixture: Once your mixture is ready, cover the bowl with plastic wrap and refrigerate for about 30 minutes. This step is crucial as it makes the mixture easier to handle when forming the truffles.
4. Form the Truffles: After chilling, use a small scoop or your hands to take a spoonful of the mixture and roll it into a ball, about 1 inch in diameter. Place the formed truffles onto the prepared baking sheet.
5. Prepare the Chocolate Coating: In a microwave-safe bowl, melt the semi-sweet chocolate chips in the microwave, heating in 20-second intervals and stirring in between until smooth.
6. Coat the Truffles: Once the chocolate is melted, dip each truffle into the warm chocolate using a fork to ensure it’s fully coated. Let the excess chocolate drip back into the bowl before placing the coated truffle back on the parchment paper.
7. Add Finishing Touches: While the chocolate coating is still wet, roll the truffles in additional crushed Butterfinger or sprinkle cocoa powder/sprinkles on top for decorative flair.
8. Final Chill: Return the truffles to the refrigerator for another 10-15 minutes or until the chocolate coating has fully set.
Congratulations, you’ve just made your own mouth-watering Butterfinger Chocolate Truffles!
Nutritional Information
Understanding the nutritional content of the treats you create can help you enjoy them in moderation. Here is a rough estimate of the nutritional information per truffle (if the recipe yields about 24 truffles):
– Calories: 150
– Fat: 9g
– Carbohydrates: 17g
– Protein: 2g
– Sugar: 9g
Keep in mind that this can vary based on the specific ingredients you use and serving sizes.
Tips
To enhance your Butterfinger Chocolate Truffles experience, consider these helpful tips:
– Grinding the Candy: You can pulse the Butterfinger candies in a food processor for finer crumbs, leading to a more consistent filling.
– Using Quality Chocolate: The quality of chocolate you choose for coating will directly affect the flavor of your truffles. Invest in chocolate with a higher cocoa content for a richer taste.
– Experimenting with Flavors: Try adding a splash of orange or peppermint extract to the cheese filling for a flavored twist.
– Presentation Matters: Use decorative liners or a nice box when gifting these truffles; a little creativity in presentation can elevate your homemade goodies.
Alternative Methods
If you’d like to try a slightly different approach to your Butterfinger Chocolate Truffles, consider these alternative methods:
– Peanut Butter Fillings: Replace cream cheese with peanut butter for a more intense “peanut butter cup” vibe. The combination with Butterfinger will be divine.
– Dark Chocolate Coating: Using dark chocolate instead of semi-sweet chocolate can bring a new level of depth and richness to the flavors.
– Incorporating Other Candies: Blend in other crushed candies like Snickers or Reese’s Pieces alongside the Butterfinger for a fun twist on flavor.
Common Mistakes to Avoid
To ensure your truffle-making experience goes smoothly, keep in mind these common mistakes to avoid:
– Not Chilling the Mixture: Skipping the chilling step can lead to truffles that are too soft and difficult to shape. Make sure to refrigerate for optimal results.
– Overheating Chocolate: Be cautious when melting chocolate; overheating can cause it to seize. Stir gently and heat in short increments to keep it silky.
– Leaving Truffles at Room Temperature: Once completed, store the truffles in an airtight container in the refrigerator to keep them fresh. They can also be frozen if you plan to save them for later.
Conclusion
Creating Butterfinger Chocolate Truffles is not only a rewarding endeavor but also a delicious way to share a treat that everyone will love. With their crunchy centers and smooth chocolate coating, these truffles are sure to impress family and friends alike. Make sure to add this delightful recipe to your dessert rotation, and don’t forget to check back frequently for more inspired recipes. Dive into the experience of creating your own Butterfinger Chocolate Truffles, and indulge in every delectable bite.
FAQs
Q: How can I store my Butterfinger Chocolate Truffles?
A: Store your truffles in an airtight container in the refrigerator for up to two weeks. They can also be frozen for longer shelf life.
Q: Can I use different types of chocolate?
A: Absolutely! You can experiment with dark, milk, or even white chocolate, depending on your preference.
Q: How should I serve these truffles?
A: These truffles make great party treats and can be served on a dessert platter or given as gifts in decorative boxes.
Q: Can I make these truffles ahead of time?
A: Yes! You can prepare and coat the truffles ahead of time; just keep them refrigerated until it’s time to serve.
Creating Butterfinger Chocolate Truffles is an engaging way to cultivate your culinary skills while indulging in a delightful treat. Be sure to visit my website for more exciting recipes that elevate your cooking game!
Butterfinger Chocolate Truffles
Ingredients
- 1 cup crushed Butterfinger candy bars
- 8 oz cream cheese, softened
- 2 cups chocolate chips
- 1 tablespoon butter
- Cocoa powder for dusting
Instructions
- In a mixing bowl, combine crushed Butterfinger and cream cheese until well blended.
- Form the mixture into small balls and place them on a baking sheet lined with parchment paper.
- Chill the truffles in the refrigerator for about 30 minutes.
- Melt chocolate chips and butter together in a microwave or double boiler.
- Dip each truffle into the melted chocolate and return to the baking sheet.
- Dust with cocoa powder if desired and refrigerate until set.
Nutrition Information
- Calories: 150 kcal
- Protein: 2 g